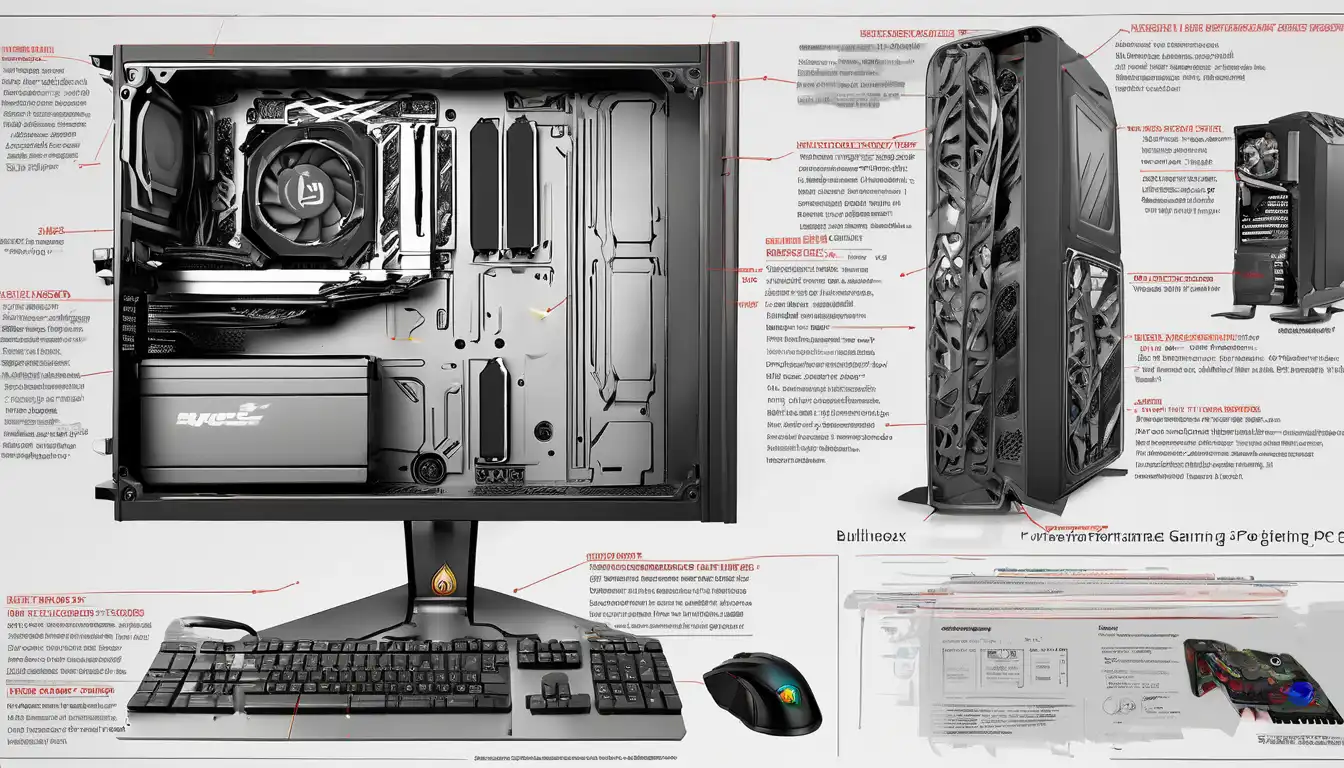
Introduction to High-Performance Gaming PC Assembly
Building a high-performance gaming PC is an exciting journey that combines technical knowledge with creative expression. Whether you're a competitive esports player or a casual gamer seeking immersive experiences, a custom-built gaming computer offers unparalleled performance and customization options. This comprehensive guide will walk you through every step of creating your dream gaming rig, from component selection to final assembly and optimization.
Essential Components for Your Gaming PC
Central Processing Unit (CPU)
The CPU serves as the brain of your gaming PC, handling all computational tasks. For gaming performance, consider processors from Intel's Core i7/i9 series or AMD's Ryzen 7/9 series. Look for high clock speeds and multiple cores to ensure smooth gameplay and efficient multitasking. Modern CPUs with at least 6 cores and 12 threads provide excellent gaming performance while future-proofing your system.
Graphics Processing Unit (GPU)
Your graphics card is arguably the most critical component for gaming performance. High-end options like NVIDIA's RTX 40-series or AMD's RX 7000-series deliver exceptional frame rates and support advanced features like ray tracing and DLSS. Consider your monitor's resolution and refresh rate when selecting a GPU – 1440p gaming requires more graphical power than 1080p, while 4K gaming demands top-tier graphics cards.
Motherboard Selection
The motherboard acts as the foundation connecting all your components. Choose a motherboard that matches your CPU's socket type and supports your desired features. Key considerations include sufficient PCIe slots for expansion, multiple RAM slots for memory upgrades, and robust VRM design for stable power delivery. For gaming builds, mid-range to high-end motherboards from reputable brands like ASUS, MSI, or Gigabyte offer excellent reliability and features.
Memory (RAM) Requirements
Modern gaming benefits significantly from ample, fast memory. Aim for at least 16GB of DDR4 or DDR5 RAM running at 3200MHz or higher. For future-proofing and content creation tasks, 32GB provides headroom for demanding games and background applications. Dual-channel configurations (two or four sticks) offer better performance than single-channel setups.
Storage Solutions
Fast storage dramatically improves loading times and system responsiveness. Combine an NVMe SSD for your operating system and frequently played games with a larger SATA SSD or HDD for additional storage. PCIe 4.0 NVMe drives offer incredible speeds, while SATA SSDs provide excellent value for mass storage. Consider at least 1TB of fast SSD storage for your primary drive.
Power Supply Unit (PSU)
Never compromise on your power supply – it's the heart of your system's stability. Choose a PSU from reputable brands like Seasonic, Corsair, or EVGA with at least 80 Plus Bronze certification. Calculate your system's power requirements and add 20-30% headroom for future upgrades. Modular PSUs simplify cable management and improve airflow within your case.
Case and Cooling
Your case selection affects both aesthetics and thermal performance. Look for cases with good airflow, cable management features, and sufficient space for your components. Consider adding aftermarket CPU coolers for better thermal performance, especially if you plan to overclock. Proper cooling ensures consistent performance and extends component lifespan.
Step-by-Step Assembly Process
Preparation and Safety
Before beginning assembly, gather all necessary tools and prepare a clean, static-free workspace. Use an anti-static wrist strap to prevent electrostatic discharge damage to sensitive components. Read all component manuals thoroughly and organize your workspace for efficiency.
Motherboard Installation
Start by installing the CPU, RAM, and M.2 SSD onto the motherboard before placing it in the case. Apply thermal paste carefully if using an aftermarket CPU cooler. Mount the motherboard using the provided standoffs, ensuring no metal contacts touch the case directly.
Power Supply and Storage
Install the power supply in its designated compartment, routing cables neatly. Mount your storage drives in their respective bays, connecting power and data cables. Plan your cable routing to maximize airflow and maintain a clean appearance.
Graphics Card and Final Connections
Install the graphics card in the primary PCIe x16 slot, ensuring it clicks into place. Connect all necessary power cables from the PSU to the motherboard, GPU, and storage devices. Double-check all connections before proceeding to system testing.
Cable Management and Final Checks
Use cable ties and routing channels to organize cables, improving airflow and aesthetics. Ensure all components are securely mounted and connected. Perform a final visual inspection before connecting power and peripherals.
System Setup and Optimization
BIOS Configuration
After successful assembly, enter the BIOS to configure settings. Enable XMP/DOCP profiles for optimal RAM performance, set boot priorities, and configure fan curves for efficient cooling. Update to the latest BIOS version for improved stability and compatibility.
Operating System Installation
Install your preferred operating system (typically Windows 10/11 for gaming) using a bootable USB drive. After installation, download and install the latest drivers for your components, starting with chipset drivers followed by graphics drivers.
Performance Optimization
Configure Windows for optimal gaming performance by adjusting power settings to high performance and disabling unnecessary background applications. Use monitoring software like MSI Afterburner to track temperatures and performance metrics. Consider gaming PC optimization techniques to maximize your system's potential.
Maintenance and Future Upgrades
Regular maintenance ensures your gaming PC continues performing at its best. Clean dust filters monthly and perform thorough internal cleaning every 6-12 months. Monitor component temperatures and performance to identify potential issues early. When considering upgrades, prioritize components that will provide the most significant performance improvements based on your specific needs.
Troubleshooting Common Issues
Familiarize yourself with common PC building issues and their solutions. If your system fails to boot, check power connections, RAM seating, and motherboard error codes. For performance issues, monitor temperatures and ensure all drivers are up to date. The PC building troubleshooting guide provides detailed solutions for common problems.
Conclusion
Building a high-performance gaming PC is a rewarding experience that delivers exceptional value and customization. By carefully selecting components and following proper assembly procedures, you can create a system tailored to your specific gaming needs. Remember that PC building is an ongoing journey – stay informed about new technologies and continue optimizing your system for the best possible gaming experience. With proper care and occasional upgrades, your custom-built gaming PC will provide years of exceptional performance and enjoyment.